Super Easy Ice Cream Recipe for Kids
MakingHomemade Ice Cream in a Can is easy, only take a few ingredients and creates fun memories! Our recipe is easy to customize, plus a great summer boredom buster for kids.
Want something to keep the kids busy? Well, for at least 30 minutes or so? Here's how they can make homemade ice cream in a can!
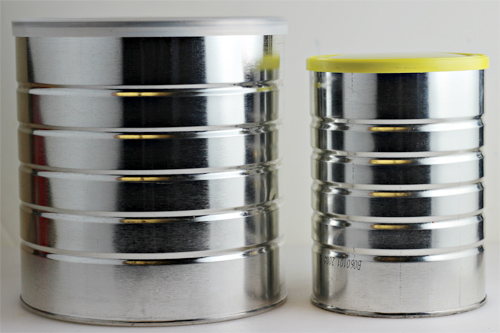
To make homemade ice cream in a can, you will need to empty and clean metal coffee cans, with the lids. One will be a 12-16 ounce size and the other will be a 2-3 pound size. The 12-16 size must be able to fit inside of the larger coffee can with a bit of round all the way around it.
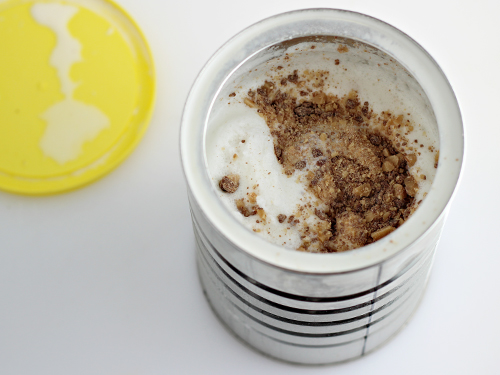
Inside the smaller coffee can, you will mix up all of the ingredients. My recipe is for a very basic vanilla ice cream, but you can change it up by mixing in some add-in items. I added some crushed Heath candy bars to ours, but you could also add nuts, fruit, chocolate chips and more.
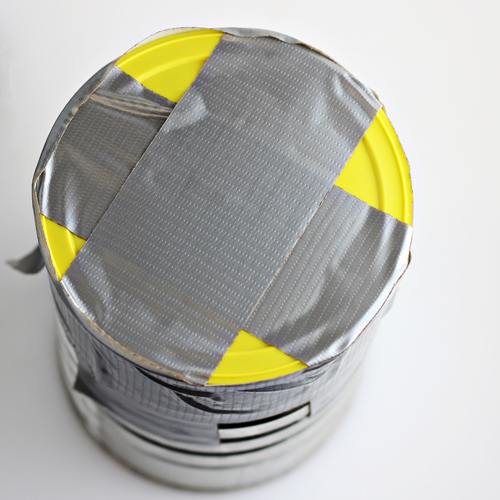
After you got it all mixed in, grab your duct tape. You want to secure the lid on the can you just filled, but first make sure the outside of the can is dry, so wipe it down with a dry towel if you need to. I tape the lid on by taping a "plus sign" over the top and then a piece all around the edge of the lid and the top of the can.
Put your smaller, ice cream can into the center of the larger can. Place some crushed ice all around the small can. When the can about half full of ice, sprinkle some rock salt (about 1/3 cup) on the ice. Pack with more ice until nearly full and sprinkle more salt (about 1/3 – 1/2 cup) on the top.
Cover your large can with its lid, wipe down any moisture or frost that is collecting on the outside of the can and tape the lid on.
Have the kids sit on a floor and roll the can back and forth for about 15 minutes. After that time, open up the big can and pull out the small can. You should see the ice cream starting to form on the sides and bottom. Scrape down the sides, put the lid back on, and wipe your can with a dry cloth. Tape the lid on, but because the outside of your can is wet and frosty, it's likely that you will need more duct tape this time. Since it may be hard to get the tape to stick to the can, wrap enough duct tape so that the tape is securing tightly to itself, rather than the can.
Drain off the water in the big can. Place your small can back into the large can and repeat with the ice and salt like you did the first time. Tape the lid of the big can on too — but just like the small can, you'll likely need more. We wrapped from top to bottom all the way around and then repeated going in the opposite direction.
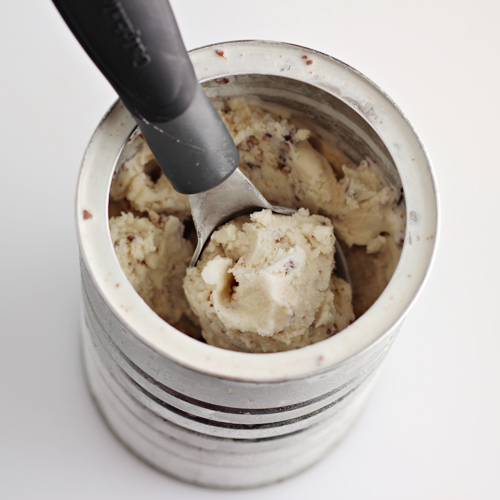
Let the kids roll the can some more — another 15 minutes. When you are done, open up your cans and you'll see that you have even more ice cream. Scrap down the sides. You can eat it at this point — it will be a bit soft, but if your kids are like mine, they won't care. I personally prefer to stick it in the freezer for a couple hours to firm it up a bit.
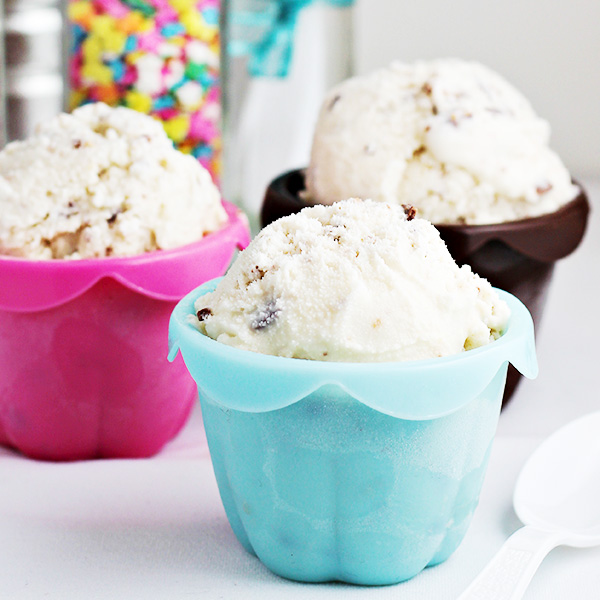
And after all that "hard" work, you have homemade ice cream perfect for a hot summer day!
How to Make Homemade Ice Cream in a Can
Here's the full recipe and instructions, ready for you to print. If you like this idea, we'd love for you to share it with your friends and family on Facebook or pin it on Pinterest. ENJOY!
Description
MakingHomemade Ice Cream in a Can is easy, only take a few ingredients and creates fun memories! Our recipe is easy to customize, plus a great summer boredom buster for kids.
- 1 cup milk
- 1 cup whipping cream
- 1/2 cup sugar
- 1 teaspoon vanilla
- Optional add-ins: chopped nuts (crushed Heath bars or other candies, mini chocolate chips, toasted coconut, chopped berries or fruits, etc.)
- 2 oz coffee cans with lids (one 12–16 can & one 2–3 lb can)
- Duct Tape
- Ice
- Rock Salt
- Inside the smaller coffee can, mix up the milk, whipping cream, sugar and vanilla. If you are using an add-in item such as chopped candy bars, chocolate chips, or nuts, you can also add those now. If using fruit, I recommend adding later. Wipe outside of can to ensure that it dry. Secure the lid on the small can securely with duct tape.
- Place the smaller (now filled) can into the center of the larger can. Place crushed ice all around the small can. When the can is almost full with ice, sprinkle rock salt (about 3/4 cup) on the ice. Cover the large can with its lid, wipe down any moisture or frost that is collecting on the outside of the can and tape the lid securely on with duct tape.
- Roll the can around on the floor for about 15 minutes. Open the large can and remove the smaller can. Open the smaller can and scrape down the side of any ice cream that has begun to form on the sides of the can. Mix in fruit, if you wish to add any in. Cover can once again, wipe and dry outside of can the best you can, and secure the lid with duct tape. Since there will be more frost and wetness on the outside of the can, you will probably find that the duct tape doesn't hold to the can — this means you will probably need to tape all the way around and secure to tape, rather than the can.
- Drain off the water from the large can and place the smaller can inside the larger can again. Repeat with the ice and rock salt as previously. Secure the lid just as you did with the smaller can on the 2nd time.
- Roll can on floor for another 15 minutes. Open large can and remove from small can from large can. Open the small can, scrape down sides again. The ice cream can now be served or if you wish it to be more firm, simply place the small can directly into your freezer for a few hours.
- Category: Dessert
- Cuisine: American
Keywords: 6 ingredients, tin can ice cream, how to make ice cream, kick the can ice cream,
Recipe Card powered by
Reader Interactions
Did you make this recipe?
Please give it a star rating below!
Source: https://homecookingmemories.com/homemade-ice-cream-in-a-can-fun-for-kids/
0 Response to "Super Easy Ice Cream Recipe for Kids"
Post a Comment